Lamborghini Jalpa
Ignition-Upgrade
![]()
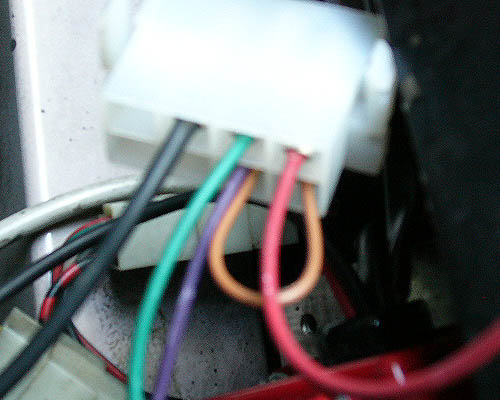
Layout of the Bosch Box 0227 300 002:
#1: Black w/ White Stripe - Coil +
|
![]()
Improve your IgnitionAll the carbed Lamborghinis suffer of a bad throttle response when suddenly accelerating, specially the change fom idle position to open. Specially in turns this is not very satisfying. My experience is, it's not a problem of the carburettor adjusting alone, it's mainly a problem of a too weak ignition which does not deliver enough power to burn the fuel/air mixture completely. First step I did on my Jalpa, was to replace the stock Bosch Coil with a MSD Blaster 2 coil.
It was zero degrees outside and had snow therefor we made only a check-up run, I turned the key, let the pump build up fuel pressure and started the engine. Surprisingly it needed only some turns to start and was immediately running round.
|

![]()
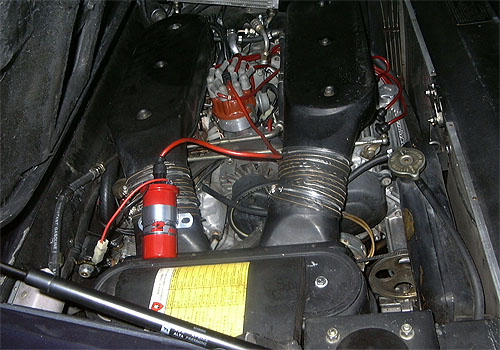
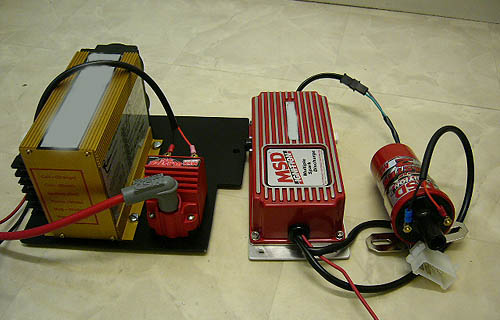
Installation of a MSD 6 ALNext Step I plan and was already done by Fred K. and Steve W., is installing a MSD 6 AL ignition unit. Problem is the adaption of the tacho signal you might have to use a Tacho adapter. Fred's car didn't want to accept any tacho signal, he had to update his tacho with a new modern circuit. Steve installed the unit as followed: Photos by Steve:
I installed the MSD 6-AL without a tacho adapter, it happened that my tacho
didn't work with and without the adapter.
Mounting plate, material and instructions to connect the MSD 6: $50 |


![]()
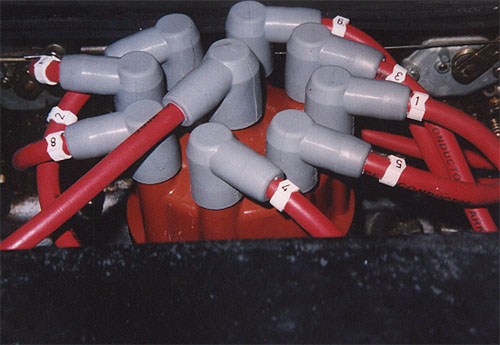
MSD spark plug wires
The wires come un-cut on the distributor end. The spark plug end is already fixed. You simply match the lenght to your size and cut extra off and crimp on the 90 degree boots for the distributor. Unlike Steve I installed the original MSD boots directly on the plugs. |
![]()
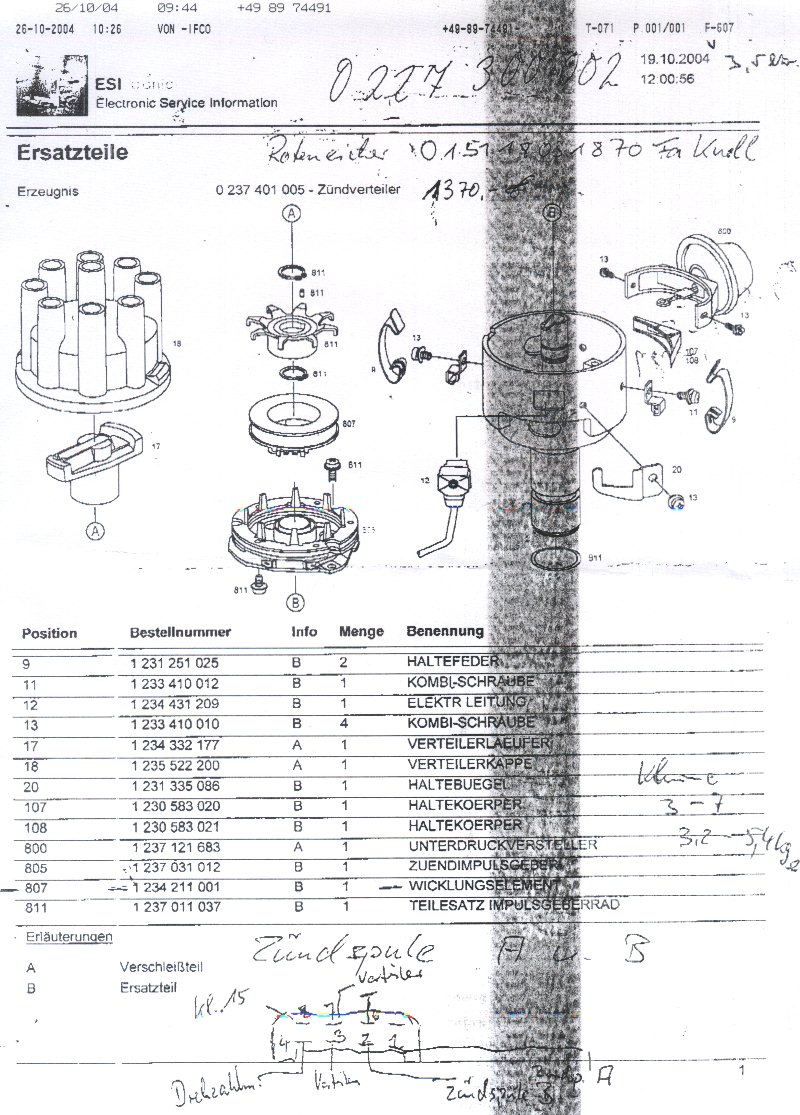
Bosch Distributor(click onto the picture to see the real size)
|
![]()
© Copyright www.jalpa.ch
E-mail:info@jalpa.ch